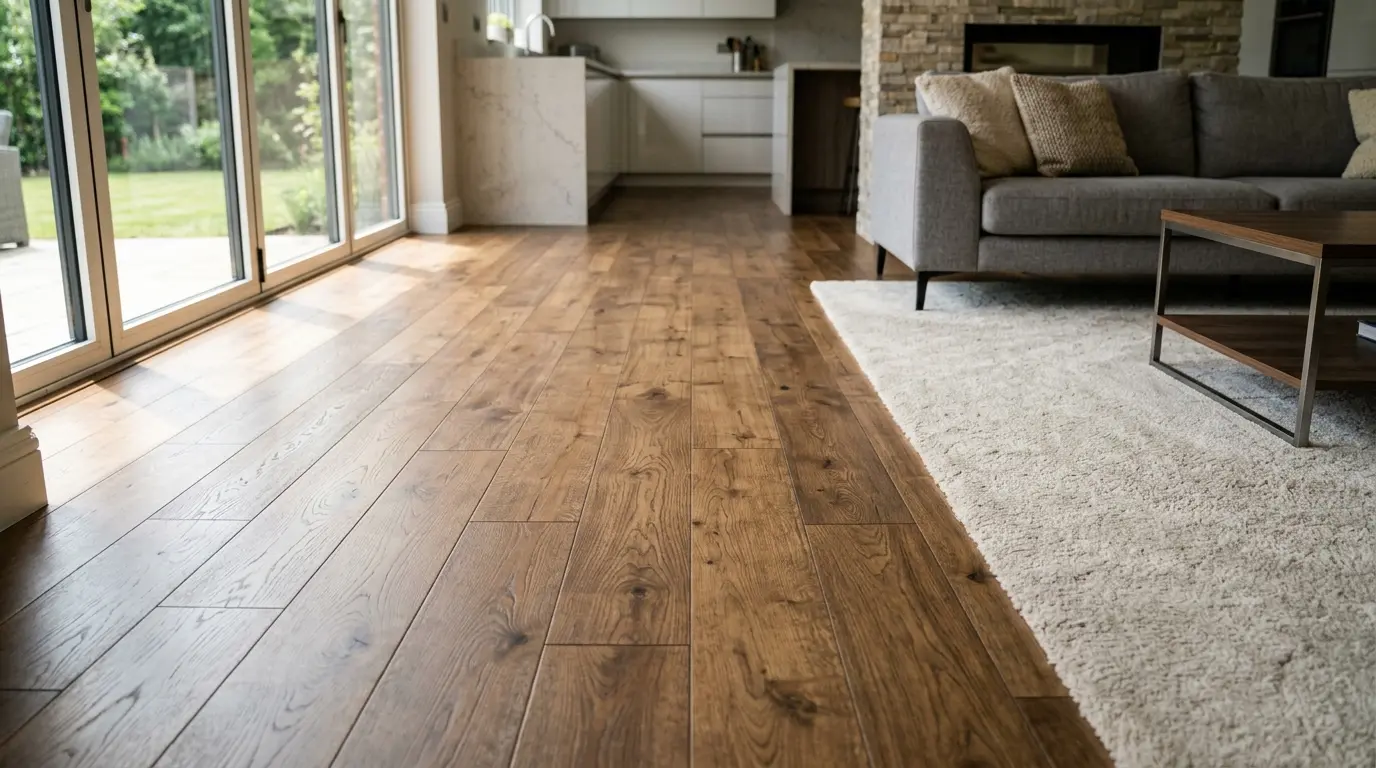

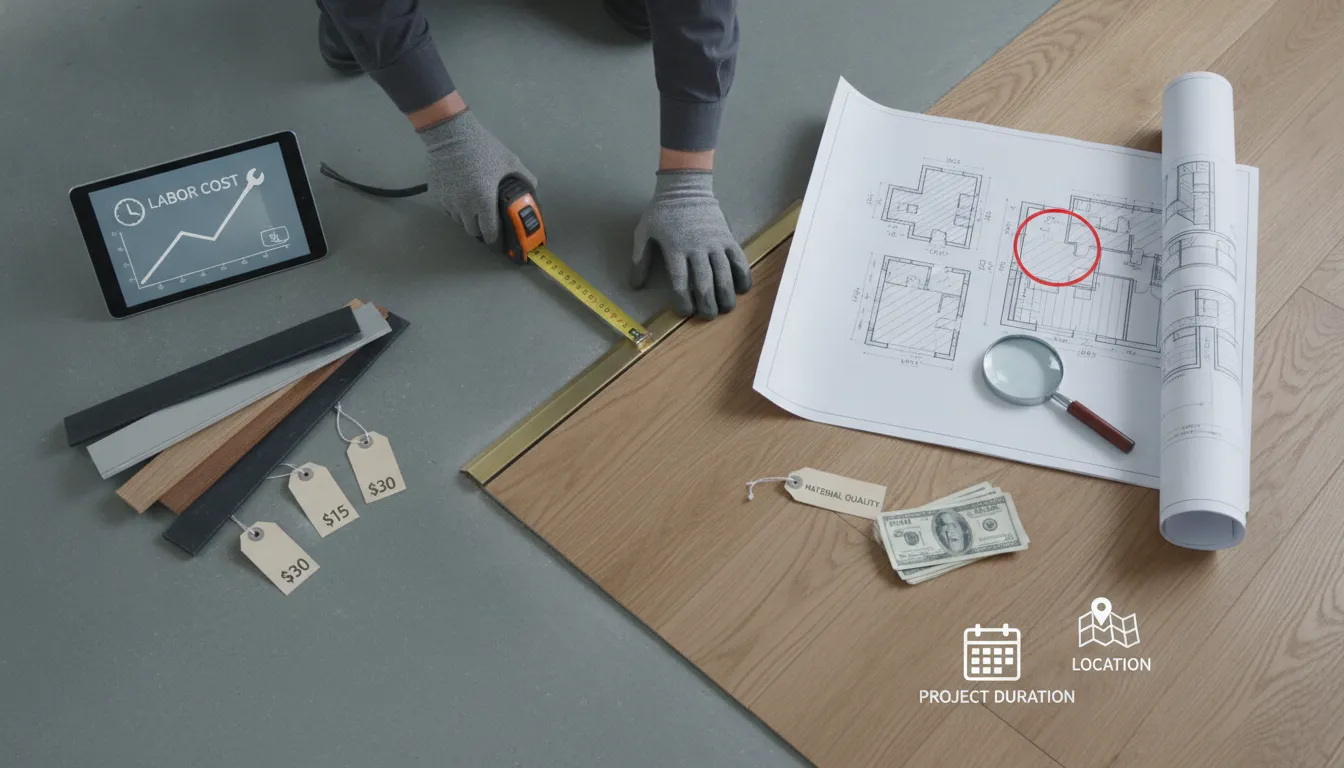
A loose transition strip can catch a shoe, expose flooring edges, and make a finished room look incomplete. Replacing it sounds simple, but the work may involve more than fastening a new piece in place. The profile must suit both flooring materials, fit the doorway, and account for any difference in floor height. That’s why floor transition installation cost varies from one project to another. A straight opening between level floors may be quick to finish, while stairs, uneven subfloors, or custom cuts can require more time. Learn what to expect, how to compare estimates, and when professional installation makes sense.
Key Takeaways
- Match the transition to the floor conditions: Check flooring materials, finished heights, and manufacturer instructions before choosing a profile.
- Budget for the complete installation: Ask for a written estimate covering materials, labor, removal, subfloor preparation, trim, cleanup, and any service minimums.
- Choose the right level of support: A simple, level doorway may suit DIY; stairs, uneven floors, complex cuts, or subfloor repairs are best assessed by a flooring professional.
What Are Floor Transitions, and When Do You Need Them?
Floor transitions are trim pieces that finish the point where one flooring surface ends and another begins. They can cover exposed edges, bridge a gap, or create a gradual change between floors at different heights. Whether you need one depends on the flooring materials, floor heights, location, and installation instructions.
Protect flooring edges and create safe, finished changes between surfaces
Exposed flooring edges can chip, fray, or lift, especially in doorways and other high-traffic areas. A transition helps protect those edges and gives the change between rooms a finished appearance. Where the floors sit at different heights, the right profile can also make the change less abrupt and help reduce the chance of catching a toe.
Transitions are commonly used where hardwood meets carpet, where flooring stops at an exterior doorway, or where rooms have different floor coverings. The best choice depends on what the transition needs to do: cover an edge, connect two surfaces, or manage a height difference. This guide to flooring transition types explains how profiles such as reducers and thresholds serve different purposes. Take note of the location and floor materials before choosing a style.
Match the profile to floor height, material, and manufacturer requirements
Compare the finished heights of both floors first. A reducer can create a sloped connection when one floor sits higher than the other. A T-molding may work where two surfaces are close to the same height, while a threshold or end cap can finish a doorway or exposed edge. The profile should fit securely without creating an awkward lip.
Material and installation method matter, too. Hardwood, luxury vinyl plank, laminate, tile, and carpet each have different edge and attachment requirements. Floating floors, in particular, often need room to expand and contract, so fastening a transition in the wrong place can interfere with the installation. Check the flooring manufacturer’s instructions before selecting or securing a profile. If you’re unsure which option suits your floors, review professional flooring installation services and ask an installer to assess the junction.
Know when floors can meet without a transition
A transition strip may not be needed when two floors are level, their edges meet cleanly, and both manufacturers allow a direct connection. This can create a seamless look between rooms, especially when the same flooring continues from one space to another or the materials have compatible edges. A tidy seam still needs proper support and precise installation.
Keep expansion requirements in mind, even when you prefer not to see a strip. Floating flooring may need a gap at the edge, and that gap must be handled in a way that follows the product instructions. Floor height, room layout, and material all affect whether a transition is appropriate, as illustrated in these flooring transition examples. If the subfloor is uneven or the junction gets heavy foot traffic, have a flooring professional check the area before deciding to leave it uncovered.
Which Transition Types and Materials Affect Price?
The transition profile depends on where two flooring surfaces meet, whether they sit at the same height, and what each floor is made of. A simple, straight doorway between level floors usually takes less fitting than a junction with a noticeable height difference, an irregular edge, or a stair tread. These details affect material choices and the time needed to measure, cut, and secure each piece.
Material and finish also influence the price. Standard profiles are generally easier to source, while a specific wood species, metal finish, or custom shape may cost more. Some products require a separate track, fasteners, or adhesive, so check what the quoted price includes. Consider foot traffic, the appearance you want, and the product requirements for the flooring itself. This guide to transition strip types explains how profiles suit different floor combinations and locations.
Before selecting a transition, have the floor heights and edges checked. A profile that does not fit the opening or sit securely can leave an uneven finish. If your project also includes new flooring, stairs, or subfloor preparation, ask whether the work can be included in one estimate. ValorCraft’s flooring services include installation and related work for residential and commercial projects across North Carolina.
Use T-molding for floors at similar heights
T-molding connects two flooring surfaces that sit at nearly the same height. Its top covers the joint, while the profile allows space for flooring movement. It’s commonly used between rooms with laminate, vinyl plank, or other level surfaces.
The material, finish, length, and attachment method all affect the price. Some T-molding installs with a track, while other products use different fasteners. A straight, accessible doorway is typically simpler to fit than an opening with uneven edges or trim that needs careful cuts. Check that the profile is compatible with both floors and leaves the appropriate expansion space. This visual guide to flooring transitions shows where T-molding is commonly used.
Use reducers for height changes
A reducer creates a gradual slope between floors at different heights. It may suit a transition from thicker hardwood to thinner vinyl plank or laminate, for example. The size and shape of the height difference determine which profile will fit, so accurate measurements matter.
Installation can take longer if the floors need adjustment before the reducer will sit securely. The installer may also need to make precise cuts to fit a doorway or exposed floor edge. Ask which reducer is appropriate for the specific flooring, and whether the estimate includes fitting and any needed preparation. A reducer strip is made for a change in floor height, but the right profile depends on the surfaces and their levels.
Choose thresholds and end caps for doorways and exposed edges
A threshold can finish a doorway where two flooring materials meet. An end cap covers the edge of a flooring run where it stops at a wall, hearth, or another exposed boundary. The profile, material, and amount of cutting all contribute to the price.
A straight, open edge is generally simpler to fit than a doorway with an irregular shape or limited clearance. The installer may also need to account for nearby trim and whether the door can swing freely over the transition. Before choosing a product, confirm that it suits both flooring surfaces and provides a secure finish. This floor transition guide describes common uses for thresholds and end caps.
Use carpet strips and stair nosings
A carpet transition strip joins carpet to a hard-surface floor, such as tile, hardwood, or vinyl plank. The correct profile depends on the carpet edge, the height of the adjoining floor, and how the strip attaches. Extra work to prepare or secure the carpet edge can add labor.
A stair nosing finishes and protects the front edge of a stair tread. Each piece needs to fit the tread accurately, and stairs with turns or unusual dimensions may require more cutting. That precision can make stair work more involved than installing a simple doorway strip. When reviewing an estimate, ask whether it includes the profile, fitting, installation, and related trim. See examples of carpet strips and stair nosings.
Compare wood, metal, vinyl, laminate, and custom profiles
Transition profiles are commonly made from wood, metal, vinyl, rubber, or laminate. Standard options are usually easier to find, while a particular color, finish, or custom shape may cost more or take longer to source. The material can also affect installation, since profiles may require a track, fasteners, adhesive, or a specific fitting method.
Choose a profile that suits both the flooring and the amount of foot traffic. Wood can coordinate with hardwood, while metal offers a distinct, durable edge. Vinyl and laminate profiles may blend with their corresponding floors. A custom option may be worth considering if standard pieces do not fit the opening or desired look. Check the product’s installation requirements before purchasing. This guide to transition strip materials outlines common options and uses.
Match LVP, hardwood, laminate, tile, and carpet to the right fit and installation
The flooring combination helps determine the profile and installation approach. LVP and laminate at similar heights may work with T-molding, while a height difference between hardwood and vinyl plank may call for a reducer. Tile can sit higher than nearby flooring, and carpet needs a profile designed to finish or hold its edge.
The floor material is only part of the price. The installer also needs to consider height, traffic, location, and whether the subfloor is level. A profile that looks right but does not fit the conditions can sit unevenly or leave flooring edges unprotected. Ask which transition the installer recommends and whether the estimate covers fitting and preparation. This guide to flooring transitions between rooms explains how height, traffic, and appearance can inform the choice.
What Does Floor Transition Installation Typically Cost?
The cost of installing a floor transition depends on the profile, the length of the opening, and how much preparation the area needs. A straightforward doorway may require only a standard profile, while uneven flooring or a damaged subfloor can add materials and labor. Before comparing prices, check whether each estimate includes both the transition product and installation.
Expect to pay about $1–$5 per linear foot for basic profiles
Basic transition profiles typically cost about $1 to $5 per linear foot, according to ConsumerAffairs’ flooring installation cost guide. Use that range as a starting point, not a guaranteed installed price. The material, finish, and profile shape can affect the product cost, and the installer may charge separately for labor.
Measure the width of each doorway or flooring junction to get a rough idea of the material required. Then ask whether the quote includes the profile, fasteners or adhesive, cutting, and installation. If the floors sit at different heights or need a precise custom fit, a basic profile may not be suitable, and the price can change.
Check whether installers charge by transition, linear foot, or project
An installer may charge by the transition, by linear foot, or as part of a larger flooring project. A per-transition price can be straightforward when each opening is similar. A linear-foot rate may be easier to understand for longer junctions. For a small job, the installer may instead use a project rate or minimum labor charge.
Ask what each price includes before comparing estimates. One quote might cover the profile and installation, while another lists labor only. Also check whether extra cutting or trim work costs more. As ConsumerAffairs notes, trim installation may be charged separately, especially when a room’s layout makes the work more involved.
Estimate the total cost, including service minimums
To estimate your total, count the transitions, measure each one, and ask for the cost of the profile and installation. Find out whether the installer has a service minimum, too. A minimum charge can have a noticeable effect on a small job, even when the materials required are inexpensive.
A flooring estimate may include materials, labor, and the size of the area, as described in Best Company’s flooring installation cost guide. For transition work, ask the installer to explain how the total was calculated. If you’re also replacing flooring, check whether the transitions can be included in the same project estimate. Bundling related work may make the scope and pricing easier to review.
Check for extra charges for removal, disposal, subfloor repairs, leveling, trim, or cleanup
The new profile may not be the only line item. Removing an existing transition, disposing of debris, adding trim, or cleaning the work area can add to the cost. The surface underneath matters as well. A damaged or uneven subfloor may need repair or leveling so the transition fits securely.
Ask what preparation is included and how additional repairs will be priced if an issue appears during the work. Hidden moisture or pest damage can require subfloor repairs before new flooring is installed, as ConsumerAffairs explains. A clear estimate should identify included work, possible extra charges, and how the installer will confirm any added work with you.
Request a written estimate that separates materials, labor, and preparation
A written, itemized estimate helps you understand the full scope and compare quotes on equal terms. Ask the installer to list the profile and material, labor, removal and disposal, subfloor preparation, trim, and cleanup. Confirm the number and length of transitions, the finish, and whether the selected profile suits both flooring types.
An in-home assessment can reveal details that measurements alone may miss, such as uneven surfaces or the need for a precise fit. You can review transition installation alongside other flooring work through ValorCraft Flooring’s services. Before approving the estimate, check the service minimum, exclusions, and process for approving and pricing additional repairs.
What Affects Floor Transition Labor Costs?
The transition profile is only one part of the installation cost. Labor depends on how much material the job needs, how the floors meet, and how much preparation or precise fitting the installer must do. These factors can help you understand what an estimate includes and compare quotes more confidently.
Measure transition length, doorways, and material waste
Longer transitions generally require more material and time to cut and fit. The number of doorways and flooring junctions also matters. A home with several rooms and different flooring materials may need multiple profiles, each measured and installed separately.
Measurements should cover the full length of every opening or seam, with enough material for accurate cuts. Angled walls, irregular openings, and profiles that meet trim can create extra fitting work or material waste. Ask how the installer measured each area and whether the estimate includes any additional material. A floor installation cost guide explains why accurate measurements and material planning matter when estimating a project.
Factor in flooring type, height differences, and subfloor condition
The materials on either side of a transition affect how the profile is selected and installed. Luxury vinyl plank, hardwood, laminate, tile, and carpet vary in thickness and installation requirements. If one surface sits higher than the other, the installer may need a reducer or another profile designed to create a safe, gradual change.
The subfloor matters, too. An uneven or damaged base can keep a transition from sitting securely and flush. Leveling or repairs may be needed before installation, adding work beyond fitting the profile. Ask whether the estimate includes preparation and subfloor repairs, or lists them separately. This flooring installation cost guide outlines how floor preparation and subfloor condition can affect project costs.
Expect more labor for stairs, corners, precise cuts, obstacles, and difficult access
A straight transition in an open doorway is usually simpler to install than one that meets a stair, wraps around a corner, or joins several surfaces. Stairs call for careful measuring and precise cuts so the profile fits securely. Cabinets, posts, door jambs, and other obstacles can require extra trimming and adjustments.
Tight spaces or occupied rooms may also affect access and the time needed to complete the work. Each added cut or fitting can increase labor, especially in an intricate layout. Point out stairs, narrow doorways, and obstacles when requesting an estimate, so the installer can account for them. Room layout and complexity are among the factors that can change flooring labor costs.
Check for specialty fasteners, adhesives, custom finishes, or profile components
Some transition profiles use screws or a track, while others require adhesive or a specific fastening method. The appropriate option depends on the profile, flooring, and manufacturer’s instructions. Specialty fasteners, adhesives, and extra components can add to material costs, while selecting and fitting them may require additional labor.
Custom finishes or less common profile shapes can also take more time to source and install. Ask whether the estimate includes the transition, track, fasteners, adhesive, and any finishing pieces. Baseboards, quarter-round trim, and threshold strips may be separate items, so clarify what is covered. This guide to flooring installation costs explains why finishing details may not be part of a basic flooring estimate.
Compare local rates and ask about bundling transitions with flooring installation
Rates can vary by contractor, location, and project requirements. When comparing quotes, check that each includes the same profile type, materials, preparation, removal of old transitions, and cleanup. A lower estimate may cover fewer tasks, so ask for a written breakdown of labor and materials, plus any service minimums or additional charges.
If you’re replacing flooring in one or more rooms, ask whether transition installation can be included in the same project. Coordinating the work may reduce repeat visits and help ensure the profiles fit the new floors. ValorCraft Flooring’s installation services include a range of flooring and finishing work across North Carolina. Contact the team to discuss your project and request a clear estimate.
Can You Install Floor Transitions Yourself?
You can install a floor transition yourself when the floors are stable, the opening is straightforward, and you have a profile designed for the flooring materials and height difference. The job may look small, but accurate measuring and a secure fit matter. A poorly fitted strip can leave floor edges exposed, shift underfoot, or create a tripping hazard.
Before you begin, check the flooring manufacturer’s instructions and the transition product’s installation guide. Different profiles call for different attachment methods, such as screws, a track, or adhesive. Make sure the transition is compatible with both floors and allows them to move as intended. Floor transition profiles serve specific flooring combinations, so don’t choose one based on appearance alone.
DIY may save on labor, but include tools, materials, removal, disposal, and any subfloor preparation in your budget. If the floor is uneven or the cut is complex, professional installation can help avoid damage and a second round of work. For larger flooring projects, compare a written estimate with the full DIY cost before deciding.
Gather a tape measure, saw, utility knife, level, and compatible fasteners or adhesive
Gather your tools before starting: a tape measure, level, and a saw suitable for the transition material. A utility knife may help trim underlayment or other materials the product instructions allow you to cut with it. Depending on the profile, you may also need a drill, screws, a track, or flooring adhesive.
Check the product instructions before buying supplies. Metal, wood, vinyl, and laminate profiles may require different blades and cutting methods. Using the wrong fastener or adhesive can damage the flooring or cause the transition to loosen. Wear eye protection when cutting, and follow the product’s safety guidance. If you’re unsure which profile or attachment method suits your floors, confirm the choice with the flooring manufacturer or an installer.
Measure, dry-fit, cut, and secure the profile as instructed
Measure the opening at floor level, checking its width at both ends. Doorways and flooring joints may not be perfectly square, so a single measurement can leave a gap. Mark the profile, cut it using the method recommended for its material, then place it in position without attaching it. Check that it fits cleanly and sits securely without rocking.
When the fit is right, secure the transition with the specified track, screws, adhesive, or other fastening method. Keep fasteners clear of areas where they could damage the flooring or restrict its movement. Because installation varies by product, follow the transition strip’s installation guidance rather than assuming one method works for every profile. If you use adhesive, allow it to cure for the time stated by the manufacturer before regular use.
Estimate savings by subtracting material, tool, and disposal costs from the labor in a professional quote
Ask for a written estimate that separates labor, materials, removal, disposal, and floor preparation. Then price the profile, fasteners or adhesive, tool rental or purchase, and disposal for the DIY option. Subtract those expenses from the labor portion of the quote to estimate your potential savings. Include tax and a little room in your budget for replacement materials in case a cut goes wrong.
Check whether the professional quote includes a minimum service charge. A short transition may cost more per foot than work included in a larger flooring project because the installer still needs to travel and prepare for the job. Compare estimates with the same scope and materials. Reviewing factors that affect flooring installation costs can help you identify charges to ask about.
Weigh savings against material waste and the risk of damaging flooring
A transition strip is a small piece, but one incorrect cut may mean buying another. Measure carefully, account for the cut, and check the seller’s return policy before purchasing. DIY costs should include possible waste, as well as the risk of scratching or chipping nearby flooring while cutting or fastening the profile.
If you’re completing a larger flooring project, plan for extra material to cover cuts and mistakes. Patterned or diagonal layouts can require additional flooring, so careful planning matters. Flooring waste allowances offer a useful reminder to account for more than the finished floor area when estimating materials. Near hardwood, tile, or a finished stair, weigh the cost of a possible repair against the labor you might save.
Hire a professional for uneven floors, complex cuts, stairs, or subfloor preparation
Consider hiring an installer if the floors are uneven, the opening has several corners or obstacles, or the transition connects surfaces with a noticeable height difference. Stairs need a secure, precise fit because a loose edge can become a safety issue. If the subfloor is uneven or damaged, placing a transition over it won’t fix the underlying problem and may leave the profile unstable.
A professional can assess the flooring, recommend a compatible profile, and identify preparation work before installation. For transition work that’s part of a larger project, review ValorCraft Flooring’s services, including flooring installation, stair work, and subfloor preparation. Ask for a written estimate that explains the work, materials, and any removal or repairs. You can also confirm who will complete the installation and whether the crew is licensed and insured.
How Can You Estimate and Reduce Floor Transition Costs?
Transition costs are easier to plan when you know where flooring changes and what each installation includes. Measure each junction, identify the type of profile you may need, and compare written estimates with the same project details. This helps you spot missing costs before work begins.
Measure each doorway and flooring junction to estimate linear footage
List every doorway and point where one flooring surface meets another. Measure the length of each junction in inches, then divide by 12 to get linear feet. At a doorway, measure the opening where the transition will sit. For an exposed edge, measure the full length that needs a finished profile.
Note corners, unusual angles, and differences in floor height, since these can affect the profile and installation time. Add a little material for cuts and fitting, but have the installer confirm the final amount before anything is ordered. Careful measurements matter most in rooms with tight corners or irregular layouts, as explained in this floor installation cost guide.
Compare quotes with the same profile, materials, preparation, removal, and cleanup
To compare estimates fairly, make sure each one covers the same work. Check that the quote identifies the transition profile and material, the number of doorways or linear feet, and whether installation labor is included. Confirm whether it also covers removing an old transition or flooring, disposal, preparation, and cleanup. A lower total may reflect a smaller scope rather than a better price.
Ask how the installer will address height differences and the condition of the subfloor. Leveling or repairs may add labor and materials. Factors such as room layout, removal, trim, transitions, and subfloor condition can affect installation costs, according to this flooring estimate overview. Request itemized written estimates so you can compare like for like.
Save with standard profiles, accurate measurements, and bundled flooring or trim work
A standard profile may cost less than a custom option, as long as it fits the flooring materials and floor heights. Ask the installer to recommend suitable profiles before making a choice based on appearance alone. Accurate measurements can also help limit excess material and avoid delays caused by ordering too little.
If you are replacing flooring, ask whether the estimate can include transition installation along with baseboards, quarter round, stair work, or other trim. Bundling related work may reduce repeat visits, but confirm the price and scope in writing. Transitions and trim require both materials and labor, so account for them from the start. This flooring estimate guide explains why finishing details belong in the project budget.
Confirm the estimate covers the full scope, warranty, and service minimums
Before approving an estimate, check what it includes from preparation through cleanup. Ask whether the price covers removing and disposing of an old transition, fitting the new profile, and making any necessary adjustments. If the job involves only one or two transitions, find out whether a minimum service charge applies.
Ask how unexpected subfloor damage or an uneven surface will affect the project. These issues may need attention before installation and can add costs. Agree on how the installer will explain and get approval for extra work before proceeding. Also ask what the workmanship warranty covers and whether the transition product has a separate manufacturer warranty. Hidden subfloor problems can lead to additional repair costs, as noted in this flooring cost guide.
For North Carolina projects, verify the installer’s license, insurance, crew, and project details
Ask the flooring contractor which credentials apply to your project and request proof of insurance. Find out who will perform the work, including whether the company uses in-house employees or subcontractors. Knowing who is responsible for installation and communication can make it easier to address questions as the project moves forward.
Review the written estimate for the project address, materials, preparation, transitions, timeline, cleanup, and payment terms. Confirm how changes to the scope will be documented and approved. ValorCraft Flooring is a licensed and insured, veteran-owned company that uses in-house crews. You can review its flooring services and contact the team to discuss your project and request a clear estimate.
Related Articles
- Quarter Round & Trim Installation | ValorCraft Flooring
- Subfloor Preparation | ValorCraft Flooring
- Flooring Removal & Disposal | ValorCraft Flooring
- Laminate Flooring | ValorCraft Flooring
- Luxury Vinyl Plank Installation | ValorCraft Flooring
Frequently Asked Questions
How much does it cost to install a floor transition?
Basic profiles may cost around $1 to $5 per linear foot for the material, but installation, preparation, and service minimums can change the total. Ask for a written estimate that separates materials, labor, and any extra work.
How do I choose the right transition strip?
Start with the flooring materials and compare the finished floor heights. A T-molding can connect surfaces at similar heights, while a reducer is designed for a height change. Check the flooring manufacturer’s instructions before choosing a profile or attachment method.
Can I install a floor transition myself?
A simple, straight doorway may be manageable if you have the right tools and a compatible profile. Complex cuts, stairs, uneven floors, and subfloor repairs are better assessed by a flooring professional to help ensure a secure, even fit.
Can two flooring surfaces meet without a transition strip?
Sometimes. The floors need to be level, the edges must meet cleanly, and the product instructions must allow a direct connection. Floating floors may require expansion space, so confirm how to handle the joint before leaving it uncovered.
What should a floor transition estimate include?
Look for the profile and material, measurements, installation labor, removal and disposal of an existing strip, and any subfloor preparation or trim work. Clarify whether cleanup, service minimums, and additional repairs are included.